
Automations: Slack Notifications
Automations are available on Growth and Scale, and for customers on legacy Business and legacy Enterprise plans. They’re not available on Starter.
Stay updated, collaborate in real-time, and manage your Qwilr pages directly from Slack.
Imagine knowing immediately when a client views your proposal, getting alerts when a contract is declined, or being notified when a customer starts interacting with your pricing - all without switching apps. Welcome to the Qwilr + Slack Integration! This powerful tool is here to streamline your workflow by delivering real-time updates straight to your team’s favorite communication platform.
In this article:
- Setting up the Slack integration
- Getting Started with Automations
- Customizing Your Slack Notifications
- Recommended Automations and Activity Log
- Adding Automations to your Templates
- Triggers (Page Acceptance, Page Interactions, Page Lifecycle)
- Automations FAQ
- How to add Private Channels to your Slack Automations
Setting up the Slack integration
Step 1. In your Qwilr account, head to the top right corner of your dashboard. Click on your initials, and then choose Add Integrations.
Step 2. On the integrations page, choose Slack and then click Enable Slack.
Note: If you already have the old Slack integration active, make sure to go and disable it. It appears at the bottom of your integrations list. Once disabled, you should find the Slack V2 integration option toward the top of your integrations list.

Step 3. A new window should pop up. (If not, check whether your browser is blocking the pop-up and allow pop-ups from qwilr.com). Choose Allow.
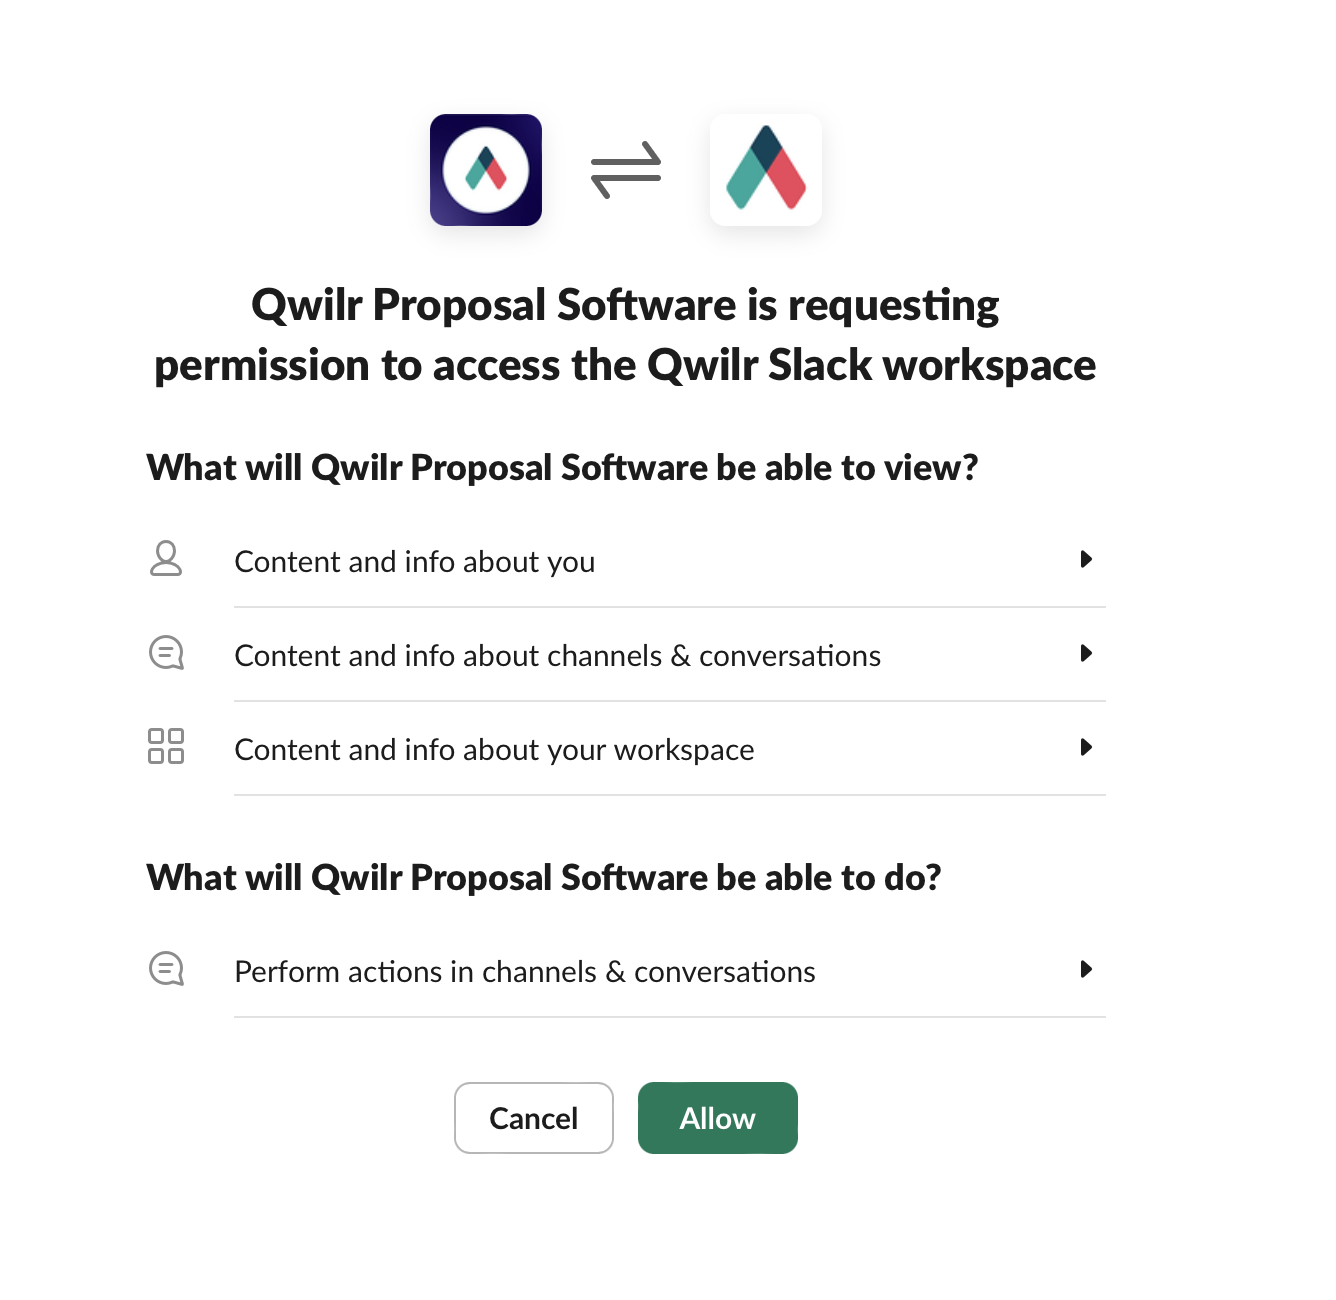
Now, you're ready to create some helpful Automations.
Getting Started with Automations
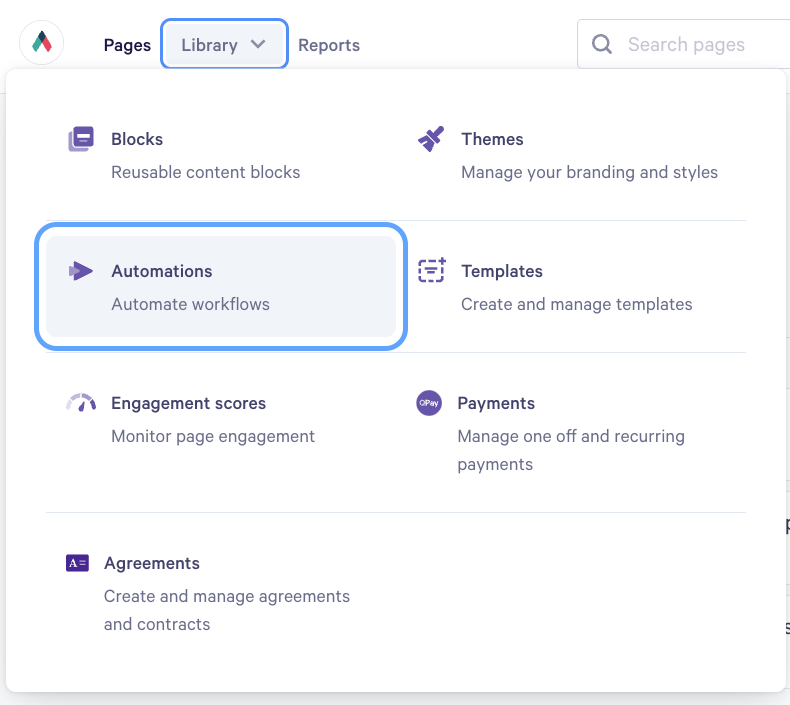
Step 1. Head to Library in the top left of your Qwilr account and select Automations.
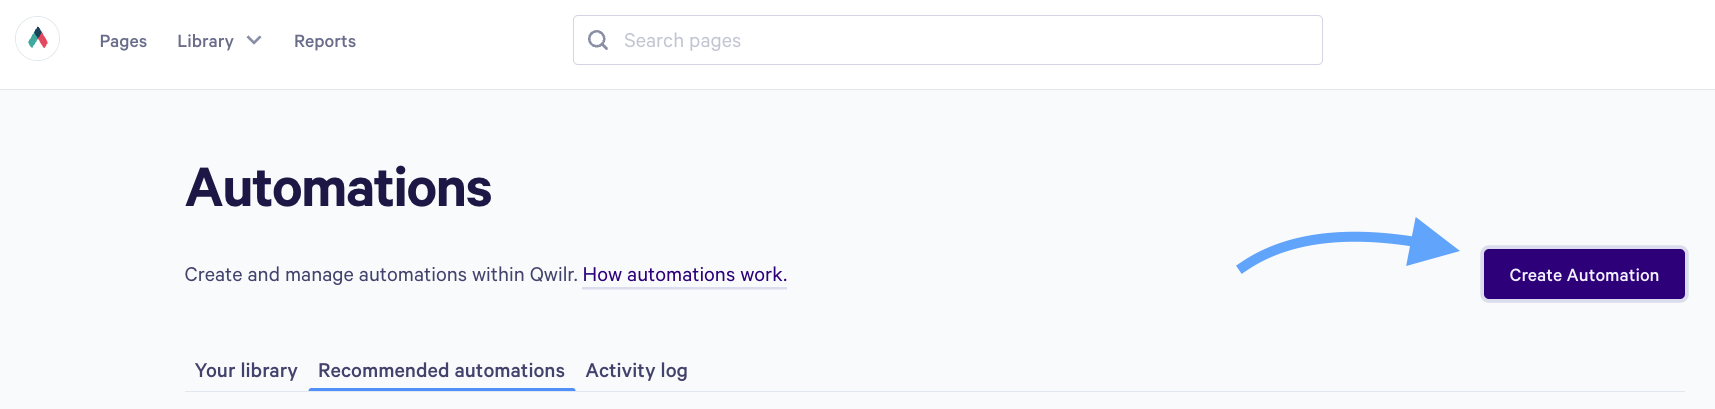
Step 2. Tap on the Create Automation button.
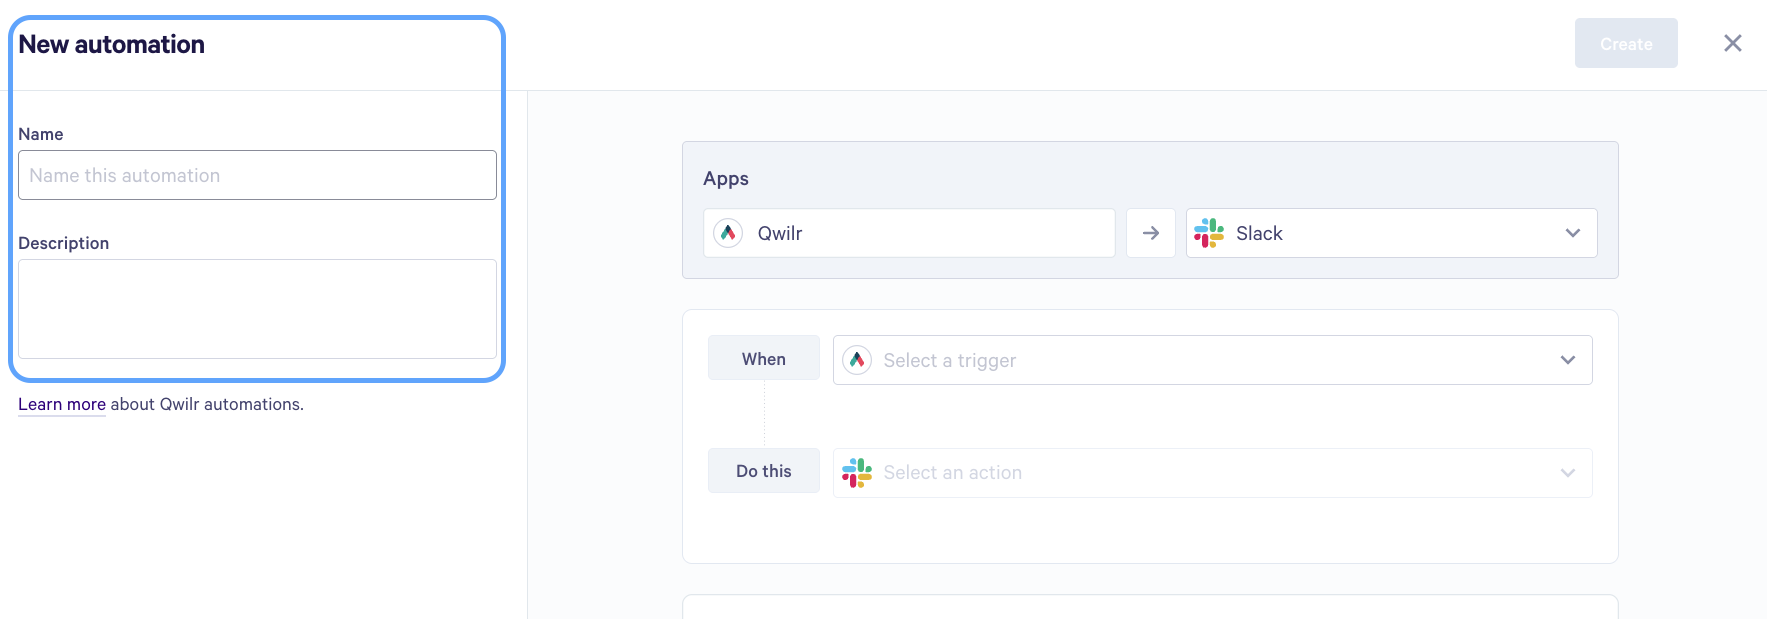
Step 3. Click on dropdown next to When. This is where you define the specific event in Qwilr that will trigger the automation (scroll down in the article to find out about what different triggers mean).

Step 4. After you chose the Trigger, you can select your Do this action. You have two options: you can either send a message to a particular channel (or multiple channels) or send a message to Page owner. If you choose to send a message to a channel, you'll be prompted to enter the channel where you want the message to appear.

Step 5. On the bottom, you will have the option to Assign automation. There, you can choose which templates you want to assign the automation.
Alternatively, you can check All pages - this option will assign the automation to all Pages in your account and run for any Page that reaches the selected trigger.

At any time, you can choose the name and description for your automation - just fill in the fields on the left side:
Customizing Your Slack Notifications
When setting up Slack automations in Qwilr, you have flexibility over how notifications appear in your Slack workspace. Within each automation, you can:
Choose which link(s) to display
- You can choose which links are included in the Slack message, such as the Collaborator Link, Shareable Link, Public Page PDF.
Add custom text
- Use the message text field to include any additional context or copy you'd like to appear below the standard Qwilr message.
Configure user identification details (available on the Growth, Scale, and legacy Enterprise Plans)
- Our Growth and Scale customers have Identity Verification included in the plan. For automations triggered by identified users, you can select whether the Slack message should include:
- The viewer’s name
- Their email address
- Both, or neither, giving you full control over what’s shared
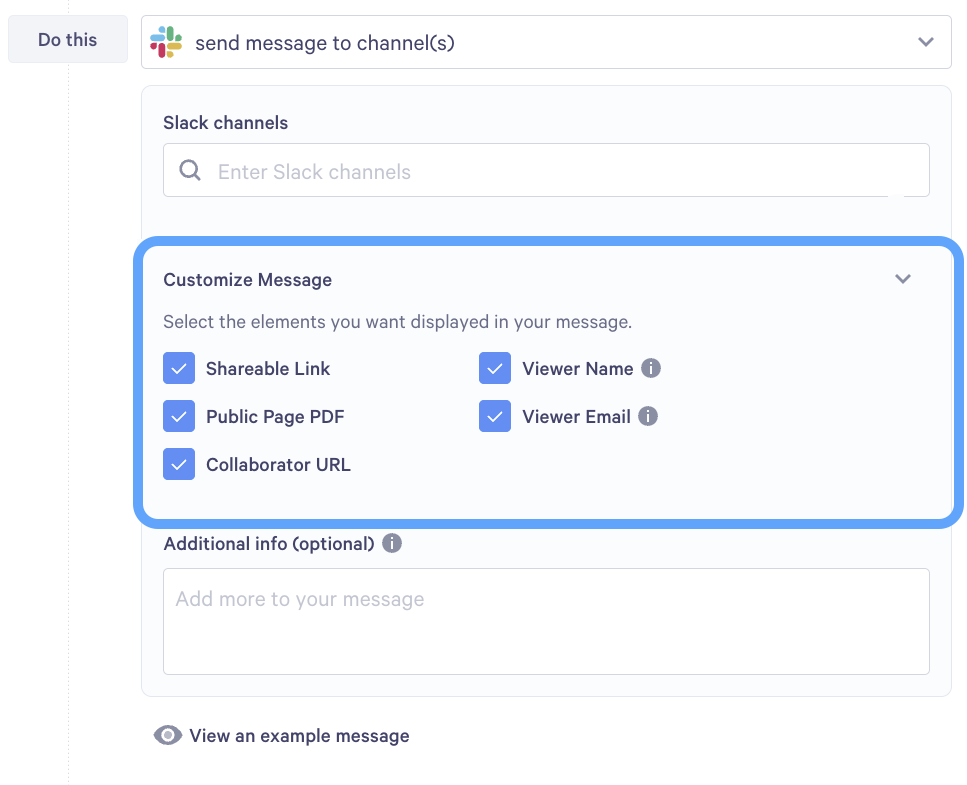
Note: The Viewer name and Viewer email fields only appear when you use the When a User is Identified trigger, and are available on Growth, Scale, and legacy Enterprise plans.
These settings help ensure your team receives just the right amount of information in Slack, tailored to your workflow.
Recommended Automations and Activity Log
Want to use one of our Recommendations? We've built some helpful presets to get you started. When you open the Automations section, scroll down to Recommended Automations. Then, just click the + symbol in the top right to add them to Your Library.
Note: You will only be able to add our Recommendations to your Library when you connect the Slack app with Qwilr.

You can also track the status of your Automations via the Activity Log. You can use this to track if your Automation has been successful or errored.

Clicking on the dropdown on the left will expand the view to see what errors may have occurred.
Adding Automations to your Templates
The first way to add automations to your template is right there underneath the automation you've been working on! Just go to your automations and click to edit, then scroll to the bottom right and you'll see the option to assign automation.

Now, if you already have existing templates you'd like to add, or add template in the future, you can also add an automation right from the template library.
Step 1. Head to your Library at the top left and click on Templates. You'll notice a new automation icon the the row of each of your templates.

Step 2. You can click on the Automation icon to select which Automation you would like applied to the Template. This will automatically apply to all pages created from this template.

Step 3. In your Template library, you will then see your automation icon light up purple to show that one or more Automations have been assigned to that template.

Note: You can click on that icon again to edit which Automations, if any, are assigned to the template.
Triggers (Page Acceptance, Page Interactions, Page Lifecycle)
Page Acceptance
- A page is accepted by the client: This triggers when a client fully accepts the Page.
- A page is manually accepted: This occurs when someone on your team manually marks the Page as accepted.
- A page is manually declined: This is triggered when a Page is manually marked as declined by someone on your team.
-
A page is partially accepted by the client: This occurs when the the process of acceptance hasn't been completed fully yet - there are still some signatures missing.
Page Interactions
- A page is viewed: A person opened the shareable link to your Page.
- A page that has expired is viewed: A person tried to open the link to a page that is past its expiry date.
- A page that was declined is viewed: A person tried to open the link to a page that has already been declined.
- A page’s viewer is identified (Growth, Scale, and legacy Enterprise only): A person opened a page with identification settings enabled (e.g., name and email, or verification). This does not mean a unique viewer. The identified person's details will appear in the page analytics timeline, available only for Growth, Scale, and legacy Enterprise accounts.
- A person interacts with pricing on the page: This triggers the ‘quote changed’ interaction event in page analytics, activating the first time someone interacts with pricing within a specific quote section, e.g. selects an optional item or increases or decreases quantity.
-
A person started accepting a page but has not completed it: A person typed more than one character into any acceptance form field but did not complete acceptance within one hour.
Page Lifecycle
- A page is archived: The page is moved to an archived state.
- A page is expired: The page’s expiration date has passed and it is no longer accessible or valid for interaction.
- A page is set to draft (from declined): A previously declined page is moved back to draft status, possibly for further editing or review.
- A page is set to draft (from live): A live page is reverted to draft status, perhaps for updates or revisions.
- A page is set to live: A draft page is published and can be accessible for client interaction.
Automations FAQ
Q: How will we know which users to send notifications to as the ‘page owner’ in Qwilr?
A: Notifications will be sent based on email matching. For this to work effectively, you need to ensure that the email addresses in Qwilr match those in Slack.
Q: How many Slack channels can we search for?
A: We can only display unarchived Slack channels that Slack returns from their API. Private channels will only appear if the Qwilr integration has been invited to them.
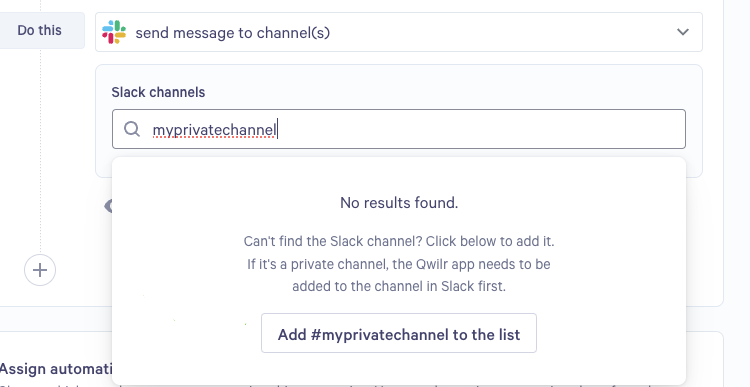
Q: Can we send messages to private channels?
A: Messages can only be sent to private channels if the Qwilr integration has first been enabled in those channels. After enabling the integration in the Slack channel, return to the Automations in Qwilr and manually add the private channel by typing its name into the search bar.
To add the Qwilr integration, follow these steps:
- Type @Qwilr into your private channel and hit enter.
-
You get a message saying that Qwilr isn’t in the channel. You'll then have the option to invite them:

- The Qwilr integration gets added to the private channel.
-
Type the name of your private channel in the search bar and click Add #name to the list.

Q: Can I connect multiple different Qwilr accounts to one Slack workspace?
A: Yes, you can connect different Qwilr accounts to one Slack workspace, but the email addresses used for Qwilr and Slack must match.
Q: Can an individual user turn off DMs from the Qwilr app in Slack if the admin has set up a page owner notification?
A: An individual user can mute the Qwilr app by selecting the Qwilr drop-down menu in the messages tab and choosing “mute.”

If the user wishes to stop receiving notifications entirely, they would need to contact their admin to discuss removing the automation. Please note that at this time, the automation cannot be removed for individual users; it will either notify all page owners or none.
Q: Why can't I see the year in my expiry date notification?
Slack formats dates to show the year only if the expiry date is more than six months away. Otherwise, you’ll see just the day and month.
Q: Why is my user identification trigger not working?
While the trigger for user identification is designed for Growth, Scale, and legacy Enterprise users, business users can still set up these automations - but they won’t activate, as the trigger conditions won’t be met. Thus, using this trigger is not recommended for users on Starter or legacy Business Plans.
Q: Help! My Slack channels don't seem to be loading?
A: If you have a lot of channels in your Slack workspace, it may take a bit longer for them to load, and some may not appear in the list. If this happens, you can manually type the channel name and add it by clicking the button that appears at the bottom of the search form. Just be sure there are no typos when entering the channel name.

Questions? Message us at help@qwilr.com.