
Microsoft Dynamics 365: Template Creation
This integration is available on our Growth and Scale plans, and on legacy Enterprise plans.
Once the Microsoft Dynamics 365 integration is set up, the next step is a template. Templates are what make the integration useful: they hold the variables that pull data from your Dynamics records, so every page you create from an Opportunity is already personalized.
Before you start: You'll need the integration enabled and your own Qwilr account connected first. See Microsoft Dynamics 365: Installation and Setup.
In this article:
- Connecting Dynamics to your Template
- Connecting Dynamics to your Template with Smart Proposal Engine
- Adding variables to your Template
- Pulling in the Opportunity's products
- Filtering products in the Quote widget
- Using the template from a Dynamics record
Connecting Dynamics to your Template
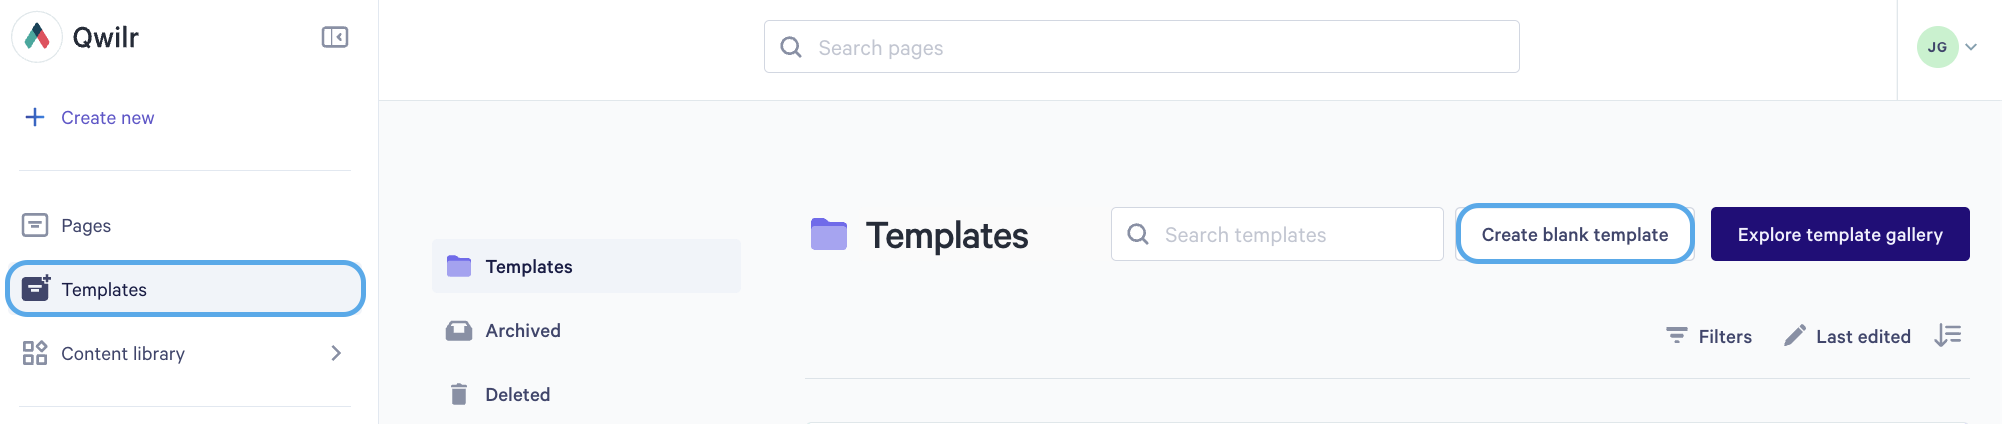
Step 1. Go to your Templates dashboard and open the template you want to use with Dynamics, or create a new one.
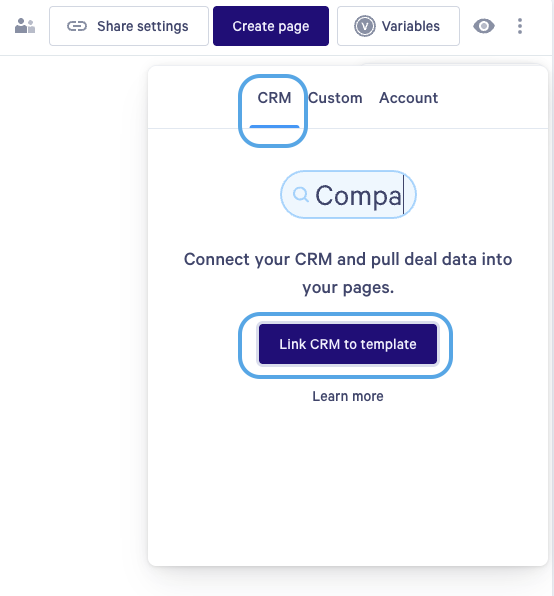
Step 2. Click the Variables button in the top right of the template.

Step 3. Select the CRM tab and click Link CRM to template.
Step 4. Connect Dynamics 365 and select the record type.
Your template now has access to the variables on the selected record.
Connecting Dynamics to your template with Smart Proposal Engine
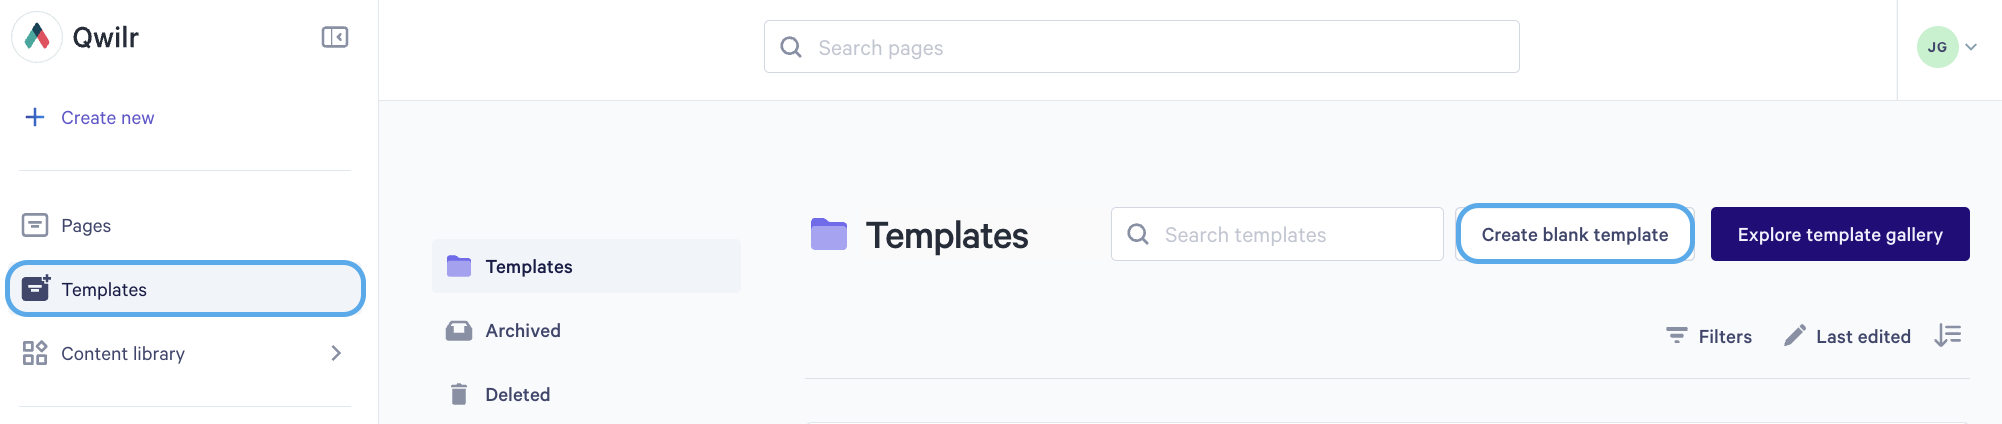
Step 1. Go to your Templates dashboard and open the template you want to use with Dynamics, or create a new one.
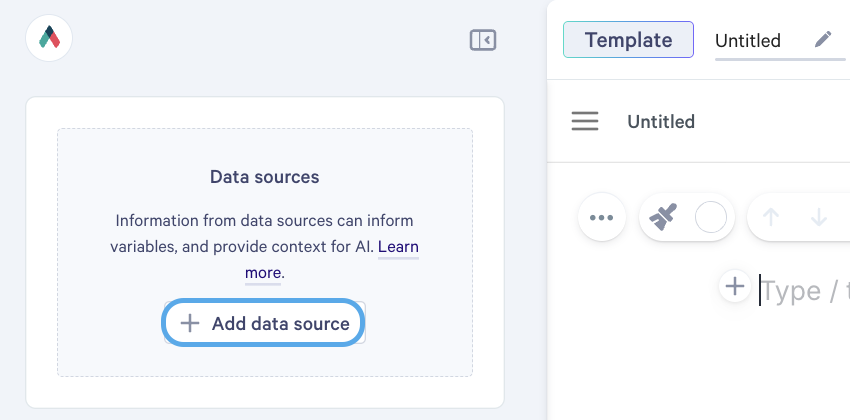
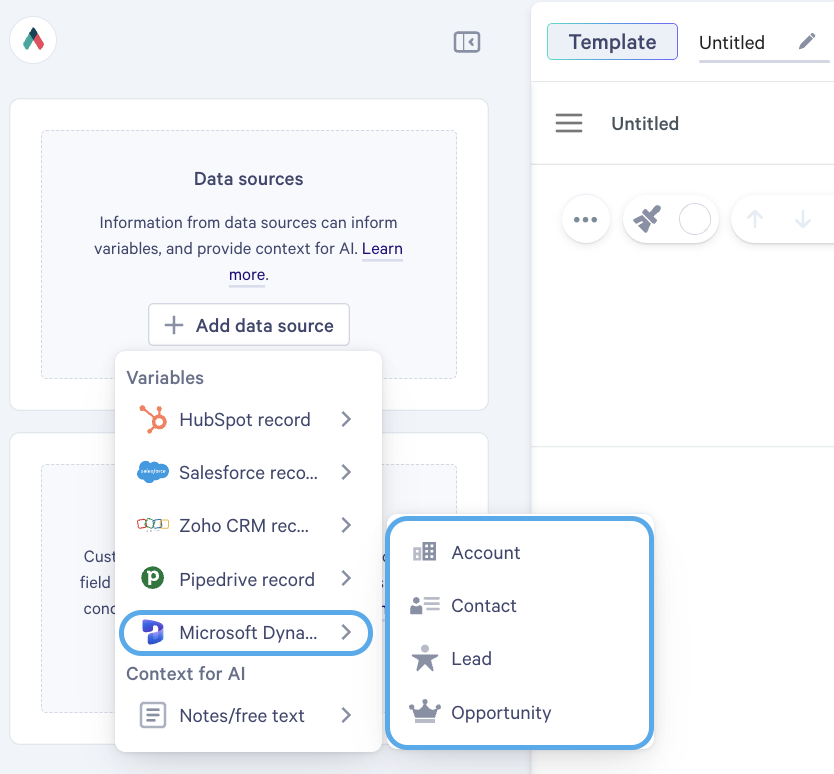
Step 2. Open the template settings sidebar and find the Data sources section. Add a data source and choose Microsoft Dynamics 365.
Step 3. Choose the record type this template is for. Dynamics offers Account, Contact, Lead and Opportunity. For proposals created from the Qwilr panel on an Opportunity, choose Opportunity.
Adding variables to your template
In your template content, insert the variables you want. Type {{ to bring up the variable picker, then choose a Dynamics variable, or select them from the Variables menu on the top right.
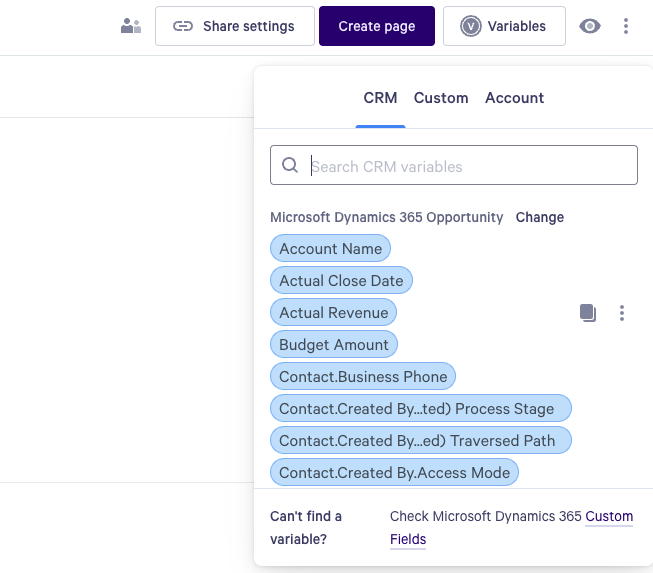
When someone creates a page from this template against a Dynamics record, each variable is replaced with that record's value.
Note: Related variables work too. From an Opportunity you can pull values from the linked Account or Contact, for example Account Name or Primary Contact, without adding those objects as separate data sources. See Microsoft Dynamics 365: Adding Custom Field Variables.
Pulling in the Opportunity's products
If your Opportunities carry products, a Quote widget can list them on the page, one row for each Opportunity Product. Learn more about quote widgets here. Add Quote widget(s) to the template, whether a Plan card section widget or a Quote table widget.
For Plan card widgets
This option is great if you have subscription or recurring pricing plans set up in in your products of your Opportunity.
Step 1. Start by adding a Quote Plan card section widget to your Qwilr Template. Do this by clicking on the widget menu '+' in the content of a block or use the Block adding mechanism with the center '+' sign to start a Quote block off with plan cards.

Step 2. A blank plan card will appear inside the widget. We will delete this plan card later. Right now, click on the '+' symbol beside the plan card and select Dynamics 365 Products.
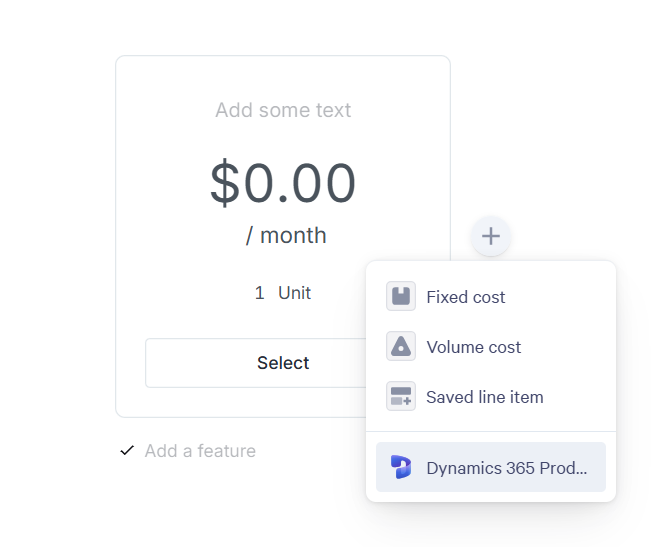
Step 3. You should now see a Plan card section in your Quote widget to appears like the image below.

Each Opportunity Product becomes one row when a page is created. Both kinds of row on a Dynamics Opportunity work: a row chosen from the product catalogue shows the product's name, and a row typed straight onto the Opportunity shows the text in its description.
Note: The Products variable only goes into a Quote widget. It can't go into text like the other variables, because it stands for a list of rows rather than a single value.
If a client changes quantities on the page, the line items automation can write those changes back to the Opportunity. See Automations: Microsoft Dynamics 365.
Step 4. See the section past the next section for filtering rules with products variables.
Adding the Variable to a Table section
This option is great for products that are set up with a One-Time price in Salesforce.
Step 1. Add a Quote widget to your template. Select the Quote section under Pricing in the widget list to get a Quote table widget.

Step 2. Add a new Line item use the '+' symbol at the bottom of the Quote table widget and the select Dynamics 365 Products.
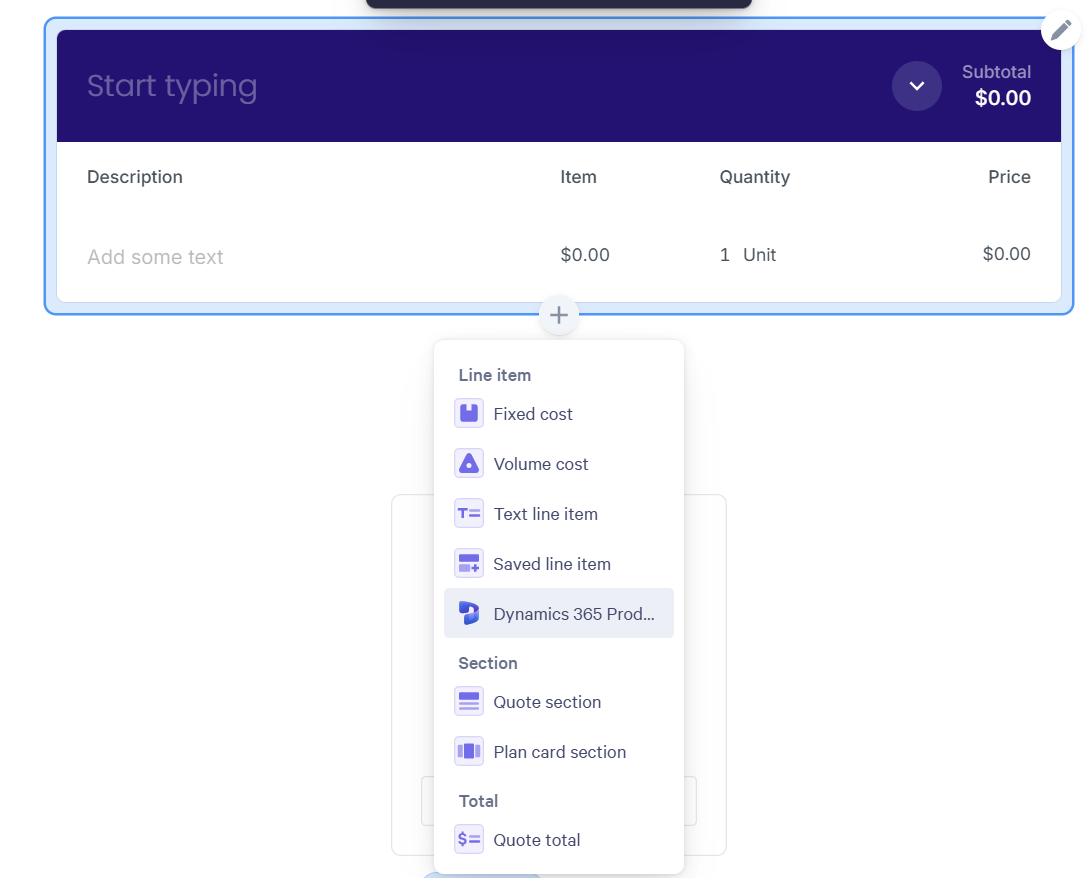
Step 3. This table section also contains a default empty line, which you won't need. Delete that by clicking on the line for the context editor to come up and click on the trash can icon to delete the extra line. You should now have a Quote table widget that looks like this.
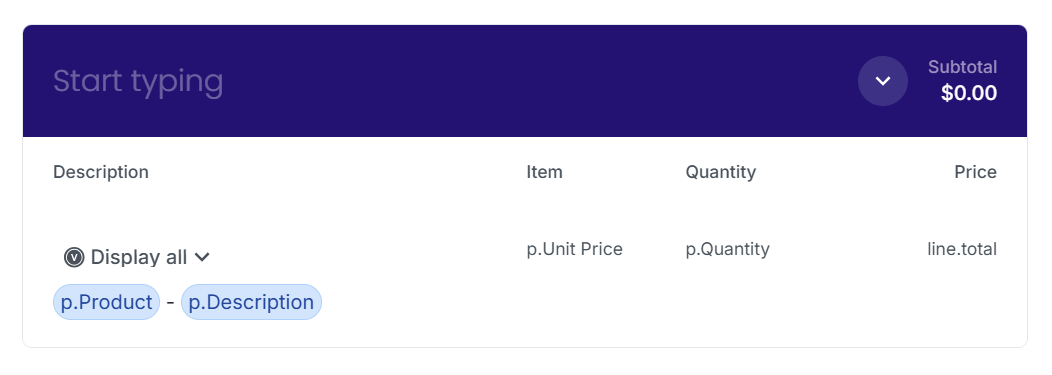
Step 4. See the section below on filtering this display.
Filtering the Products display
Whichever way you add the Products Variable to your quote, it's set by default to pull in all of the products you have attached to an Opportunity record. You can see that default filter above the Variable.
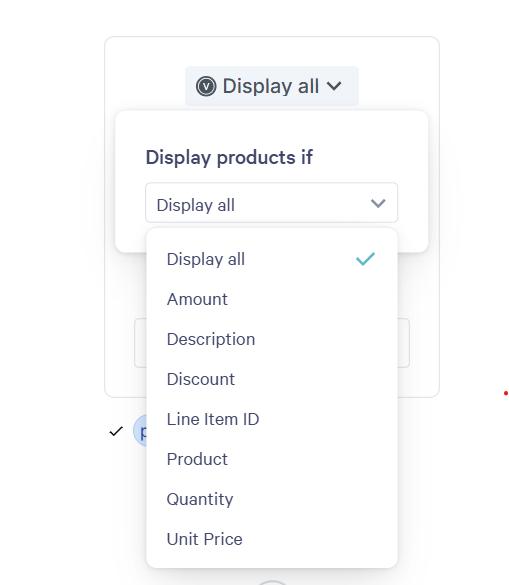
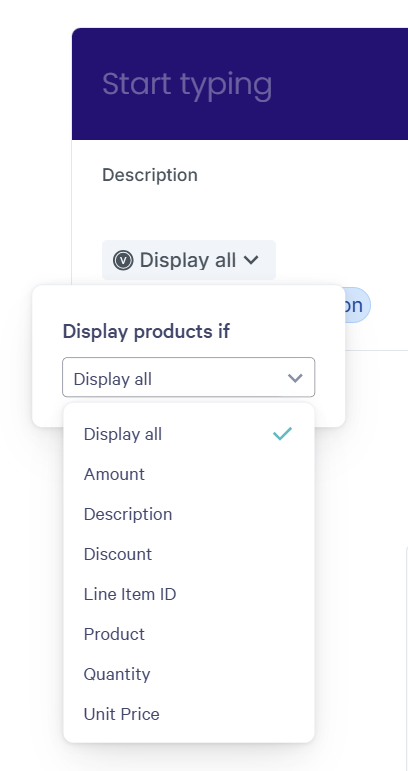
There might be cases, however, where you want only some of the associated products to pull in. For that, you can open the filter and choose a criteria.
This filter is especially useful if you're using a combination of Plan cards widgets and Quote table sections in your quote. By setting a filter for each area, you can pull different products into different areas of the quote.
The filter options are as follows:
- Display all
- Amount
- Description
- Discount
- Line Item ID
- Product
- Quantity
- Unit Price
Once you select one of this options, the Display products if menu allows you to set rules.
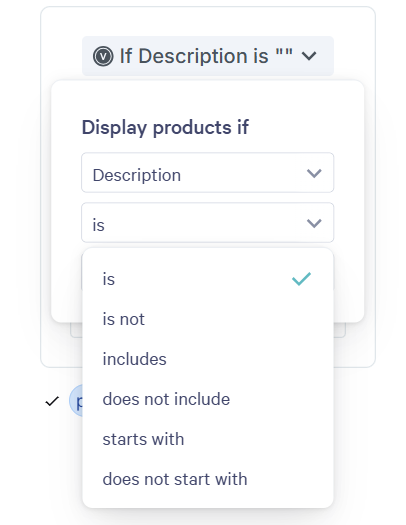
Those rules are:
- is
- is not
- includes
- does not include
- starts with
- does not start with
Note: If filtering by Amount, Unit Price, or Quantity, the options for the rules change to equals, does not equal, is greater than, and is less than.
Using the template from a Dynamics record
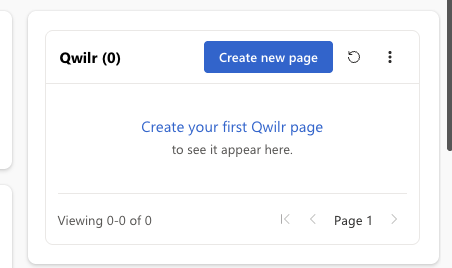
In Dynamics, open an Opportunity, go to the Qwilr panel and select Create new page. Your template appears in the picker, and the new page is automatically linked to that Opportunity with its data filled in.
What's Next?
- Microsoft Dynamics 365: Adding Custom Field Variables: Choose which custom columns are available in templates.
- Automations: Microsoft Dynamics 365: write page events and data back to your Dynamics records.
If you have any questions, please reach out to us at help@qwilr.com